|
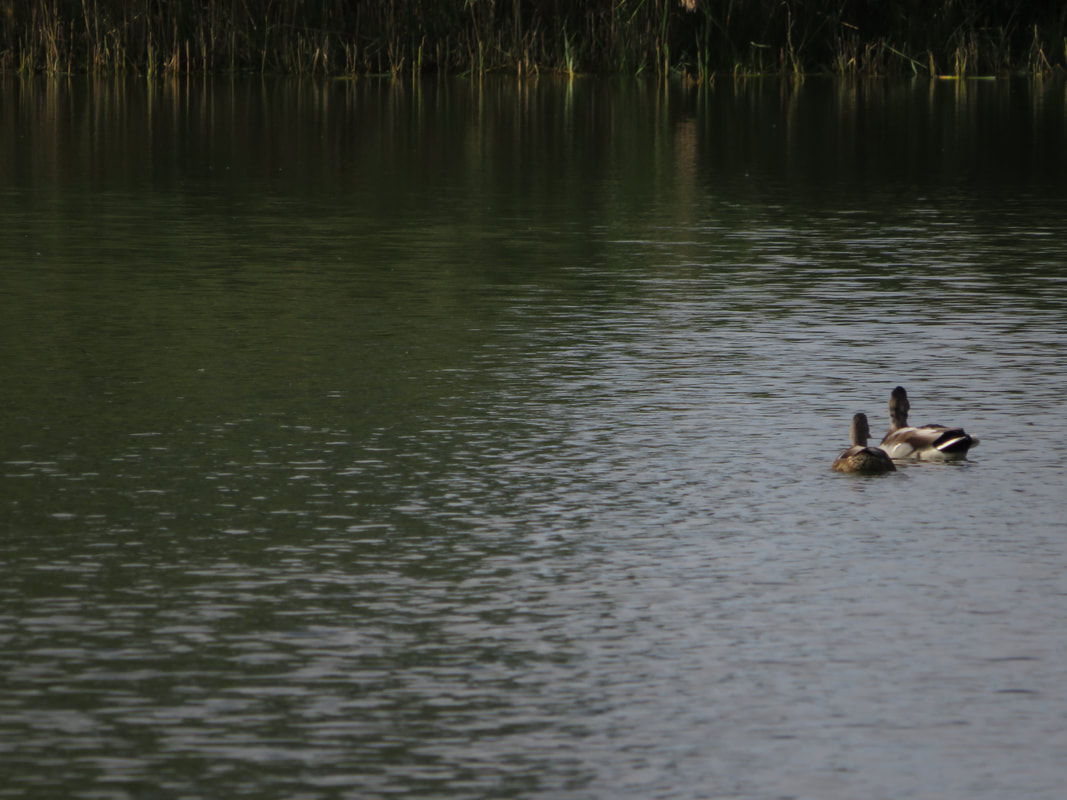
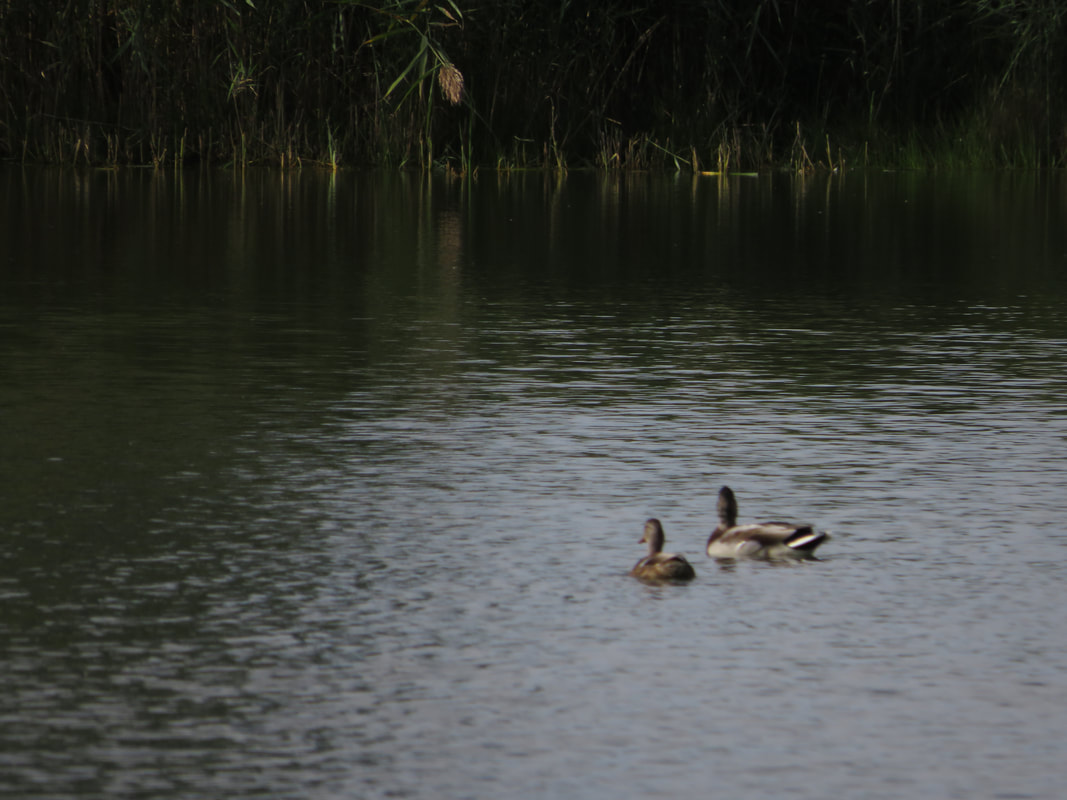
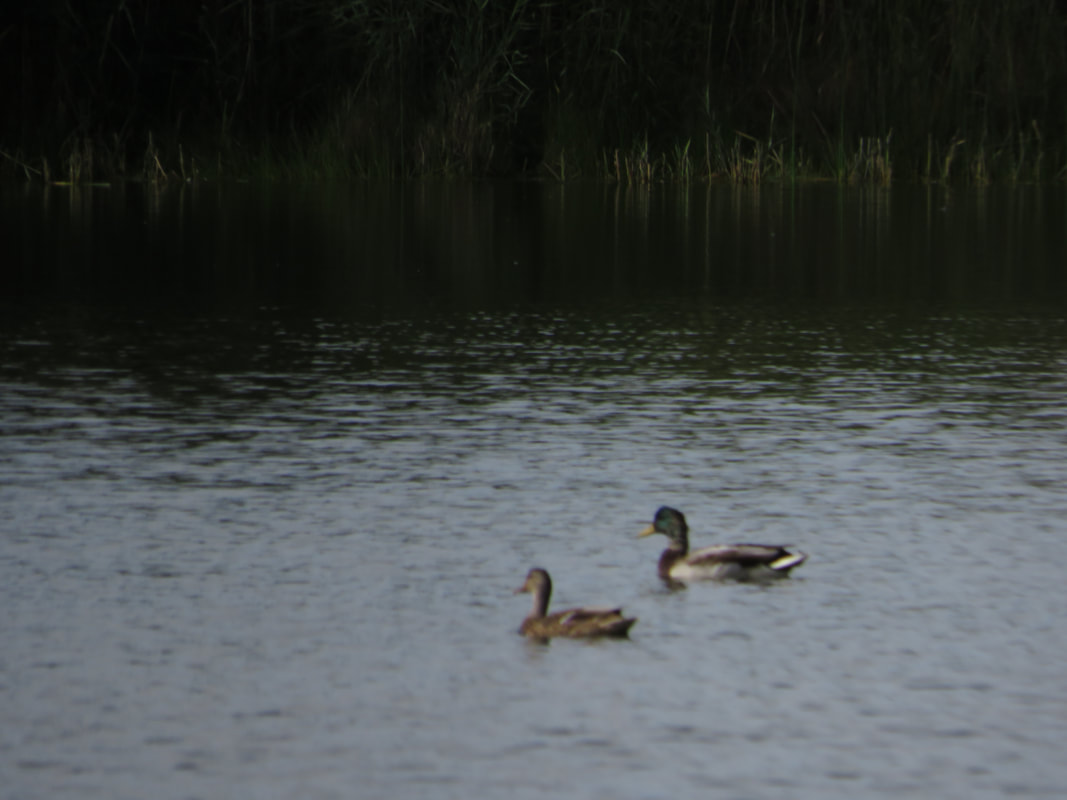
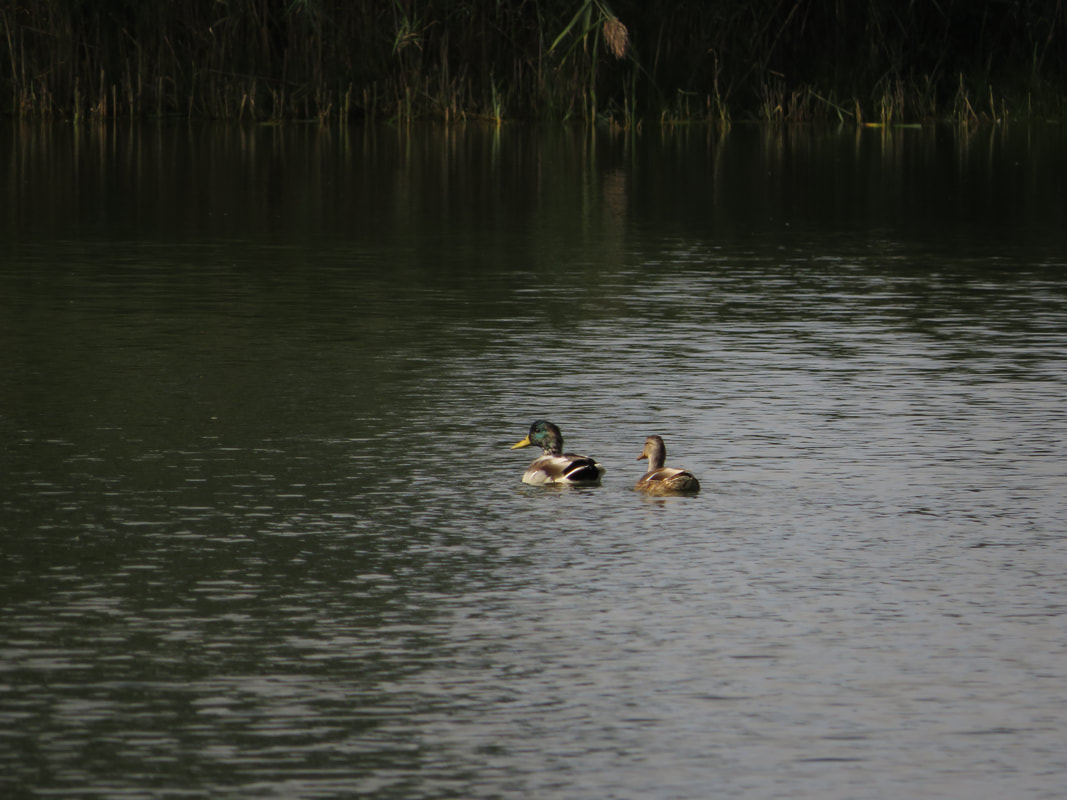
For our second photo assignment, we were supposed to choose another subject to photograph and further demonstrate our ability to use basic composition skills. For my second photo, I chose to use an animal as my subject. 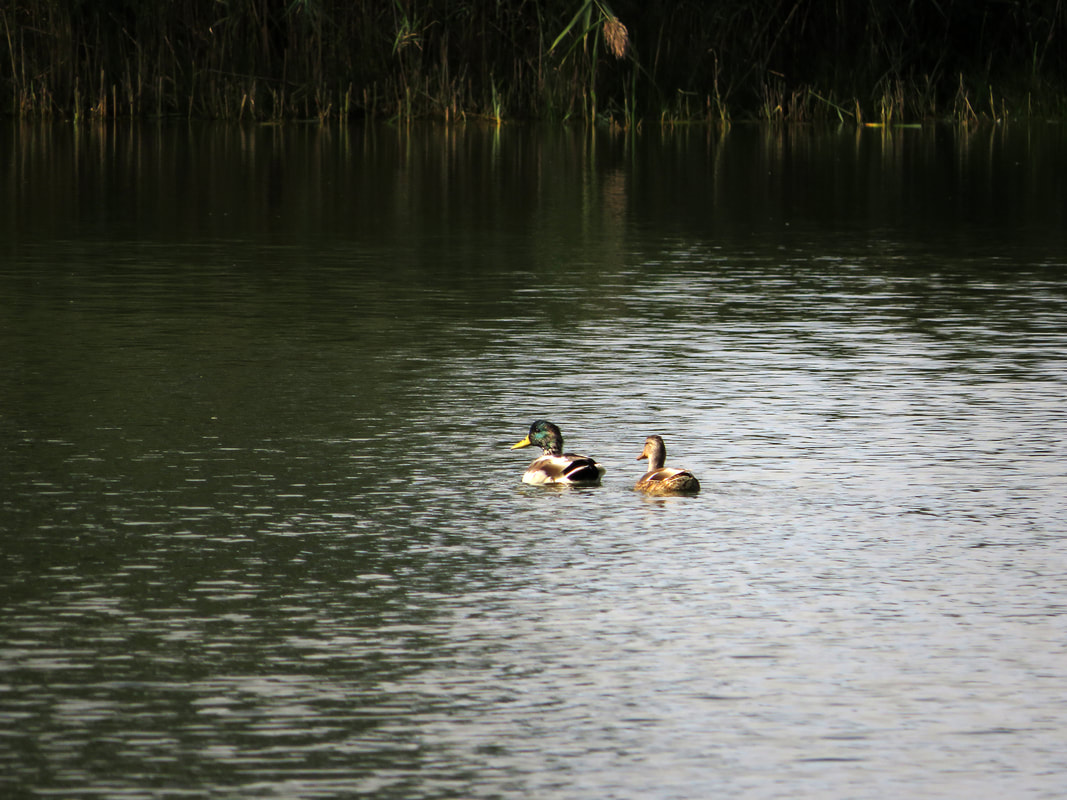 Aperture: f/6.5 Shutter speed: 1/640 ISO: 100 I changed the brightness of the photo, as it originally seemed too dark. I learned during this assignment that taking photos of a subject that is far away can be rather difficult. In the case of the photos above, the ducks were around 100 feet away and trying to capture them at that distance often resulted in a grainy blurry nightmare. I think that I was able to avoid having distractions in my photo this time. Although there is some grass in the background, it does not take attention away from the main subject in the photograph. In conclusion, I feel I was able to improve on my abilities in comparison to my photo last week.
2 Comments
The purpose of this assignment was to practice using basic photoshop techniques such as layers, guides, and threshold dialogs on a portrait photo of ourselves. 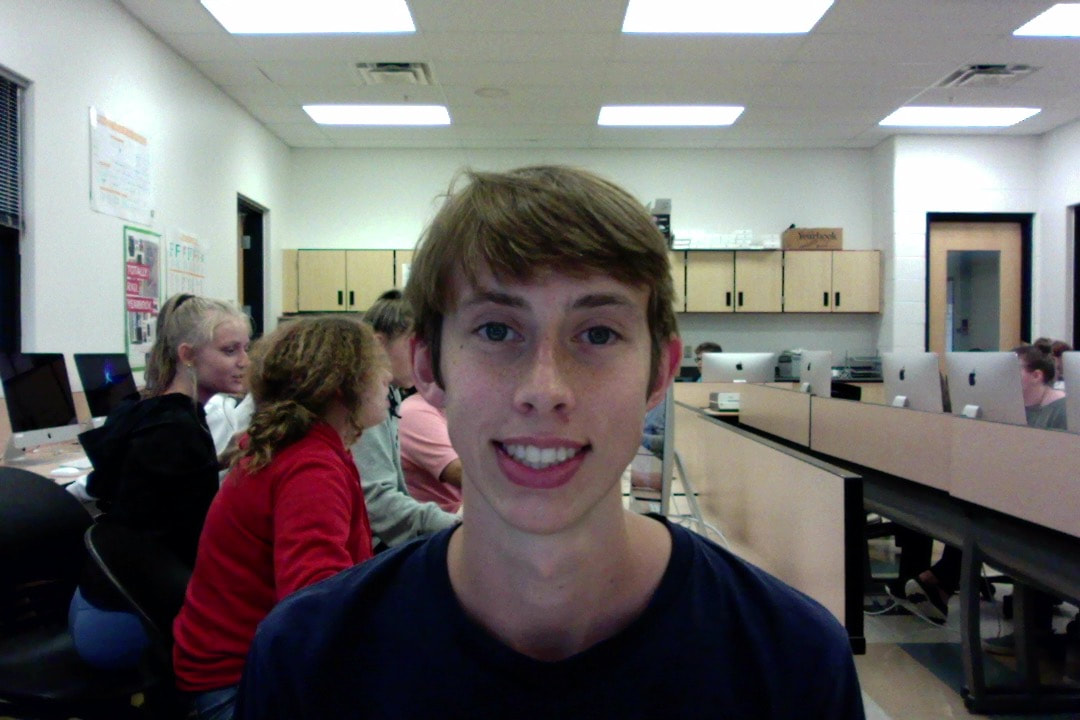 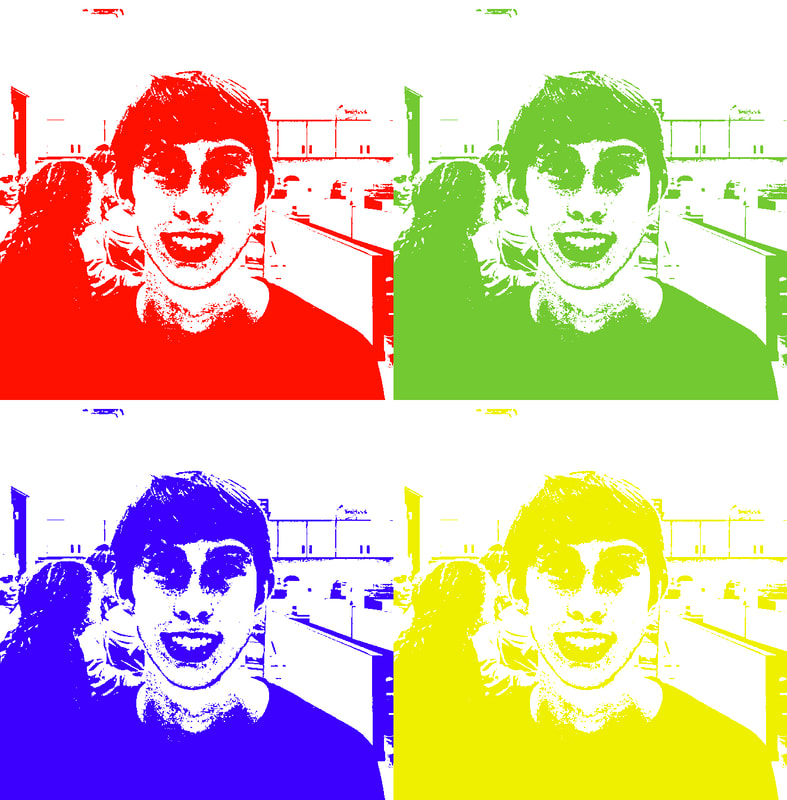  One thing I learned from this assignment, is that photoshop can be used to add spunk to the photos we take. Although I don't plan on making the photos I take all the colors of the rainbow, I think I will use photoshop occasionally to improve the vibrancy in my photos. Overall, I did enjoy this assignment and I am sure that it will benefit over the course of the trimester.
For my second assignment, I want to use macro as my subject. I want to capture all the texture that can be displayed on a macro scale.
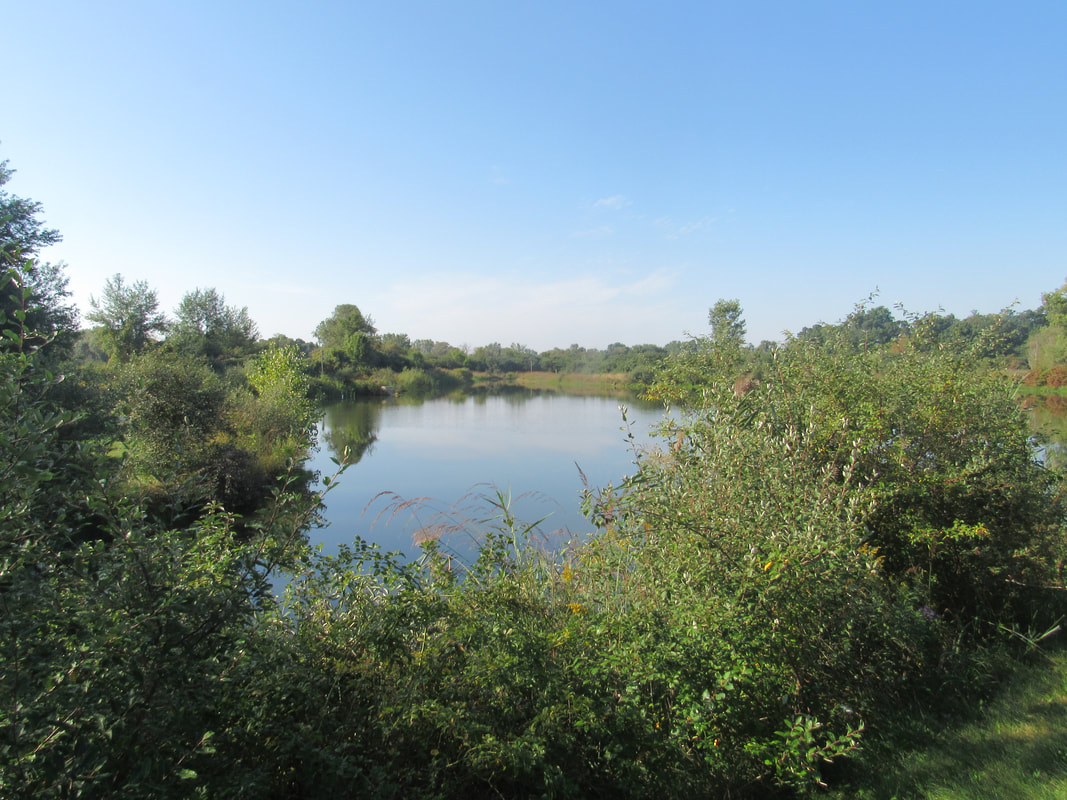
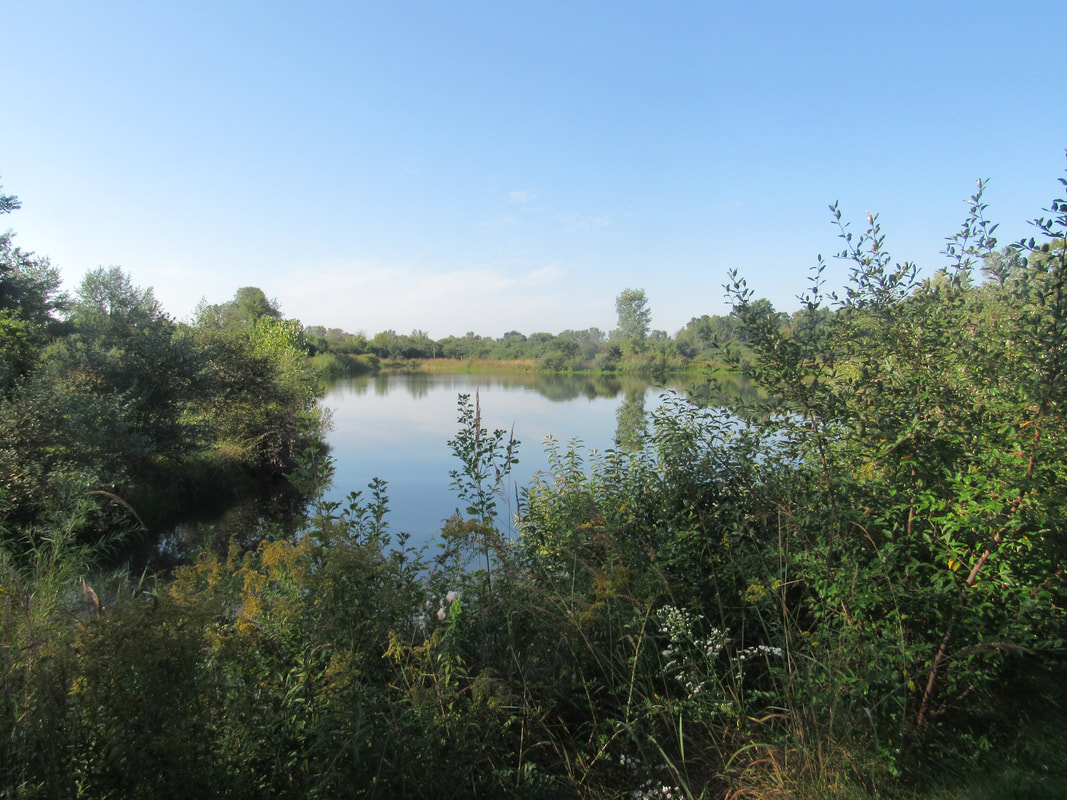
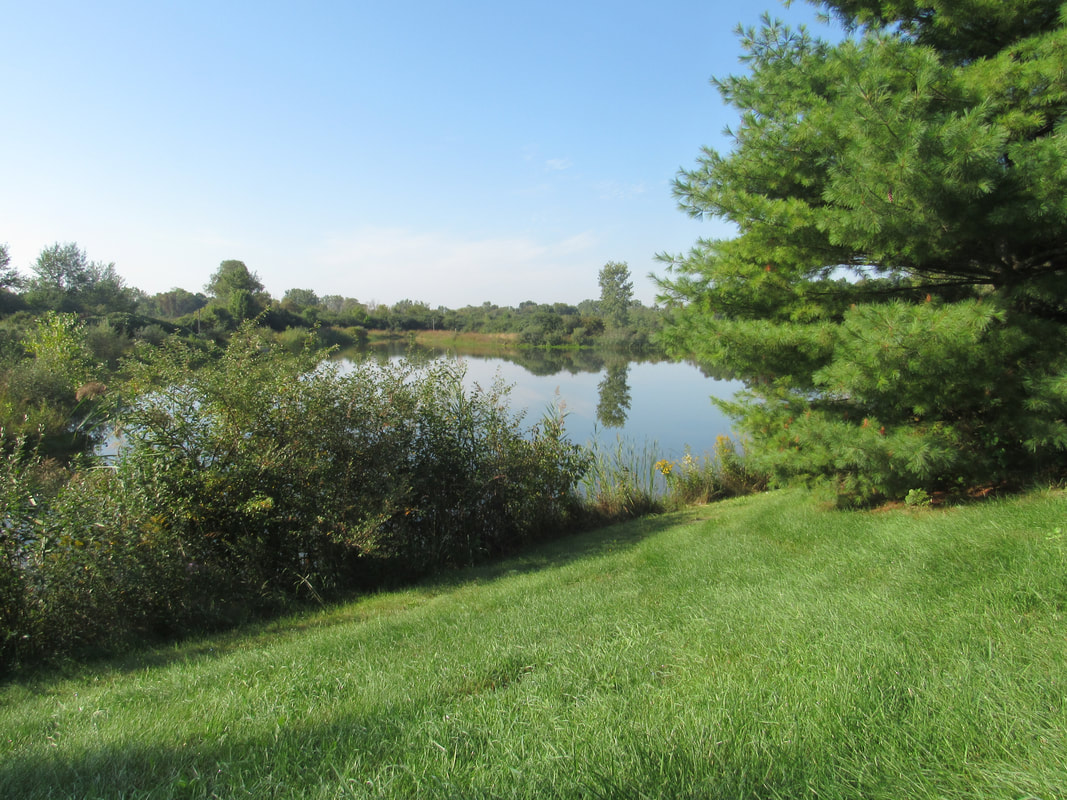
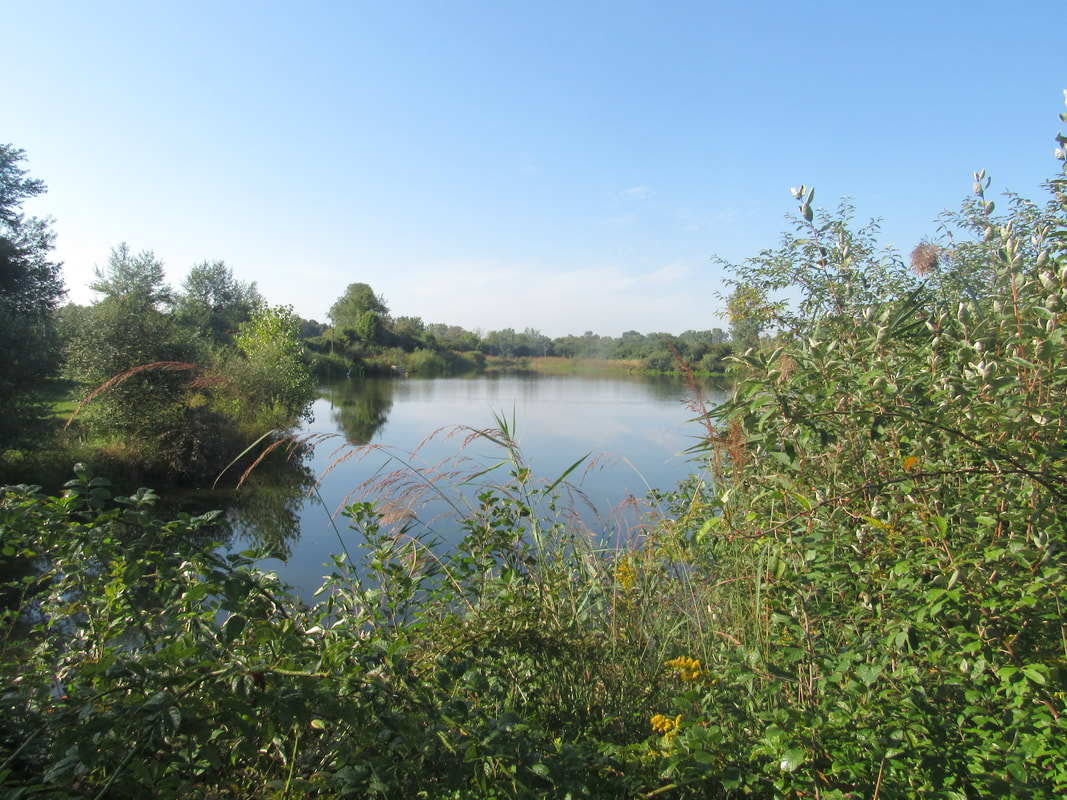
Some examples of macro photography that I can use as inspiration: Via fotozzoom http://www.fotozzoom.com/blog/6-must-knows-better-macro-photos/ I like how the picture is able to display a very vibrant color while also showing that there is so much going on at a smaller scale. I also like how the photographer was able to implement water into their photo which gives a clean vibe. Overall, I am going to use this photo as inspiration for my second assignment. The purpose of this assignment was to pick a specific subject to photograph, and test our knowledge of basic composition skills to create a visually pleasing picture. In my case, I chose landscape as my subject, and attempted to photograph a pond surrounded by brush. 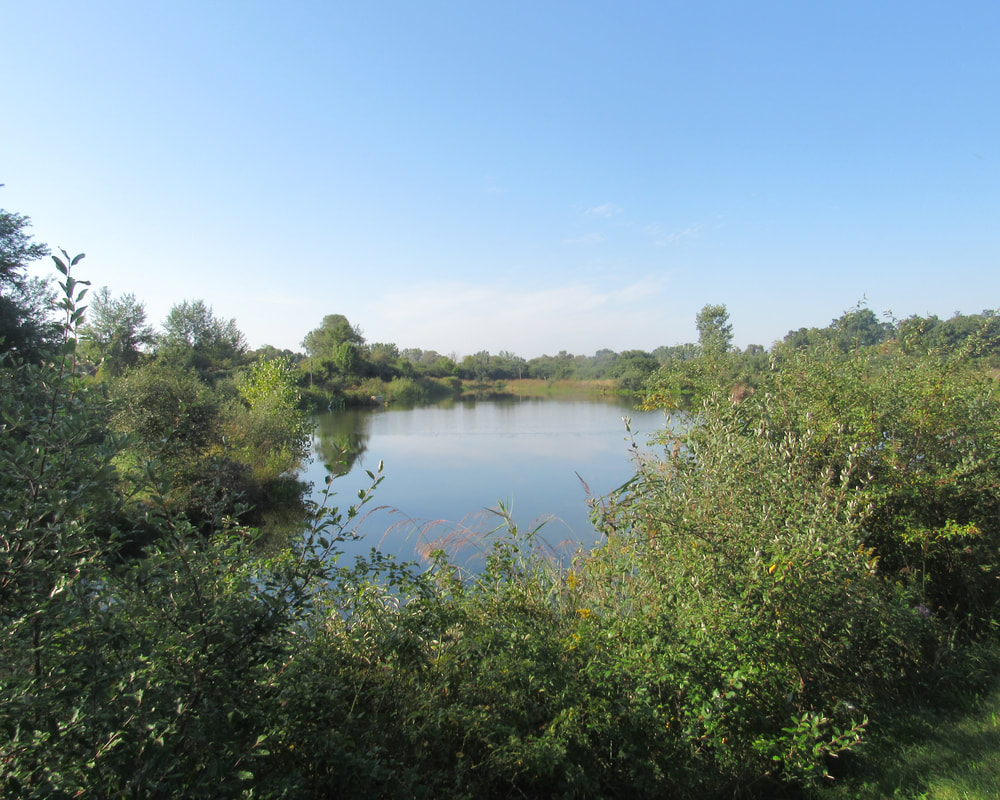 Aperture: f/8 Shutter speed: 1/160 ISO speed: 100 The only editing I did to the picture, was crop the left side as it had a gap that was distracting and unnecessary. What I learned from this assignment is that when taking photos in bright conditions, using a small aperture that lets in less light creates more visually pleasing pictures. I think following the rule of thirds and placing the water line two-thirds of the way down makes the photo much more visually pleasing than if it was placed further up. However, in the future I think I should further limit the amount of distractions in my photos as they tend to make my photos look sloppy. All in all, I think I did a fairly good job on the first assignment and I hope to improve over the course of the trimester.
For my first assignment, I am going to use LANDSCAPE as my subject. I would like to improve my abilities when taking broader pictures that cover a larger landscape.
Some examples of landscape photography that I will use as inspiration: Craig Hull https://expertphotography.com/landscape-photography-guide-and-tips/ I like these examples of landscape photography, mostly because they incorporate composition techniques that I can use in my photos. The use of different perspectives and lightings gives each of his photos a different type of vibe. Hope I can replicate some of his techniques! The images above have a shutter speed of 1/2, 1/8, 1/40, 1/100. On the left side, the photo captures water moving using a shutter speed of 1/2. This photo has a very slow shutter speed which makes the water look blurry and out of focus. As you continue to the right, the shutter speed becomes faster which causes the water to appear frozen in time and less blurry. Thus, on the right side you have a photo of water which used a shutter speed of 1/100. The water in the photo is much less blurry and seems as if it is frozen in time. In conclusion, the photos above indicate that as you increase the shutter speed when taking a photo, moving objects will become less blurry as less light will enter the camera. The images above use apertures of F/4, F/5, F/6.3, F/8. Although there is not much variation between the photos, they should appear darker as you move from left to right. This is because aperture determines how much light is exposed to the camera. Therefore, as you change the aperture from a lower number to a larger number, the exposure of the image should appear darker. Aperture also determines the depth of field in an image. The image on the left (F/4) should have a more blurry background as the depth of field is smaller. On the other hand, the photo on the right (F/8) should have a more clear background, as the depth of field is larger. In conclusion, the photos above should display varying amounts of light and depth of field.
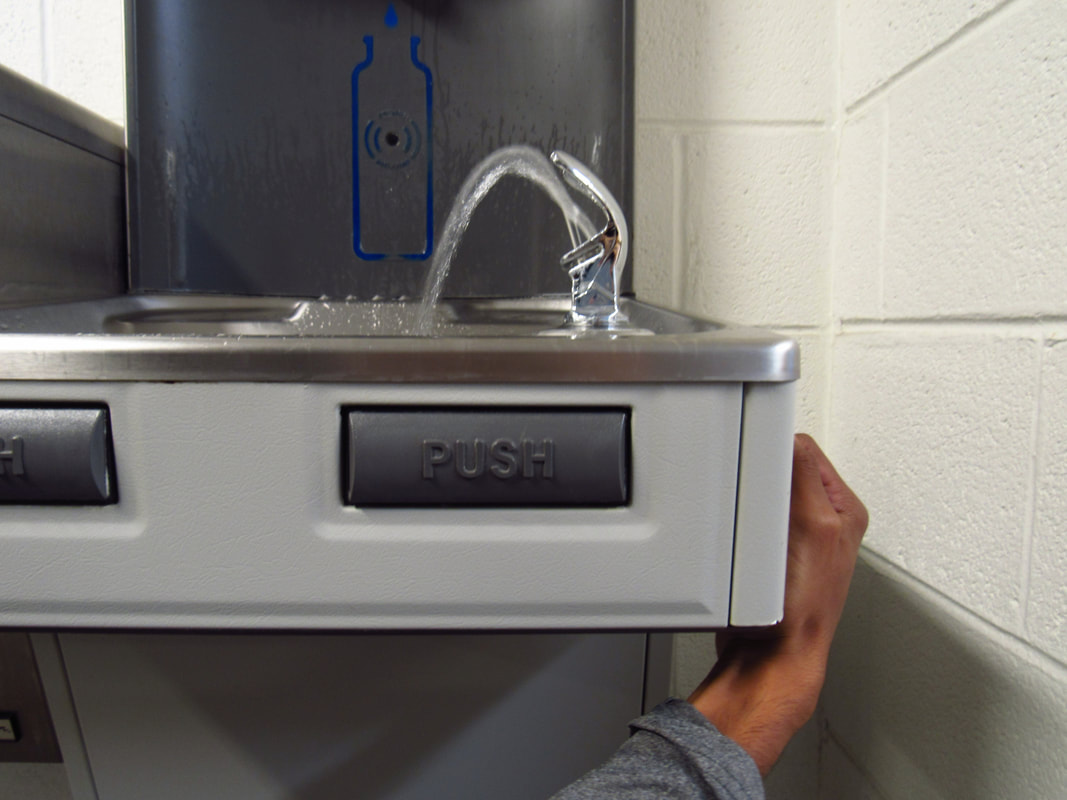
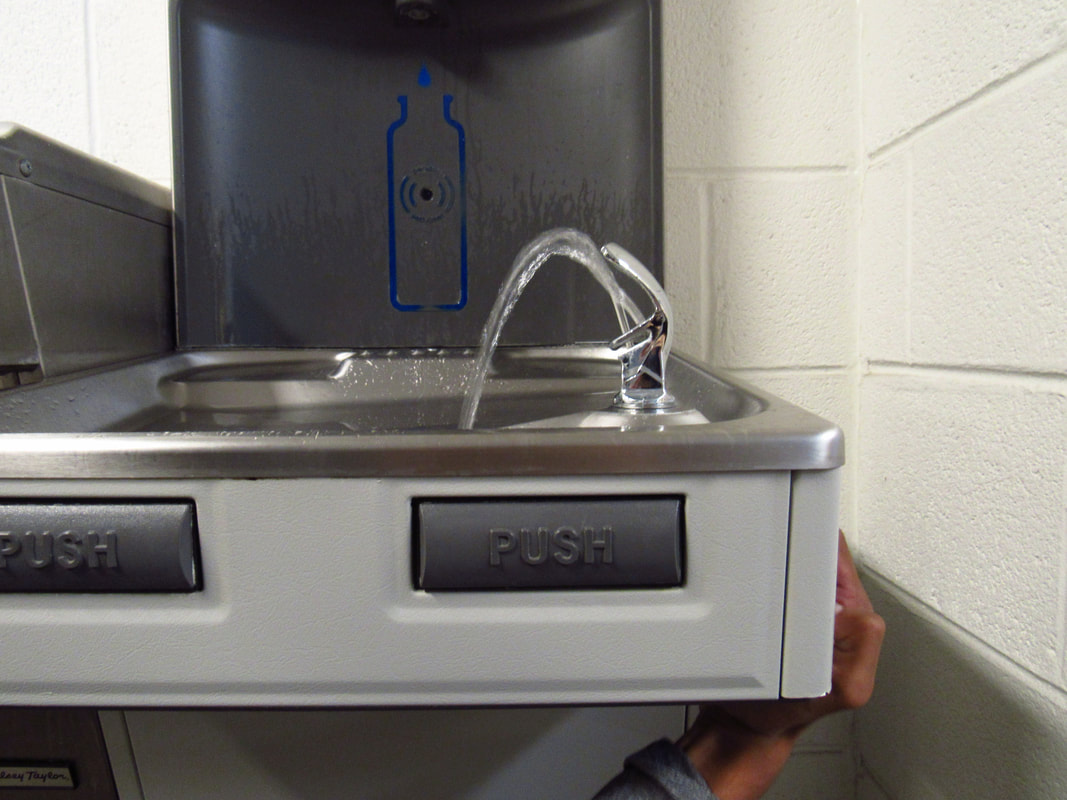
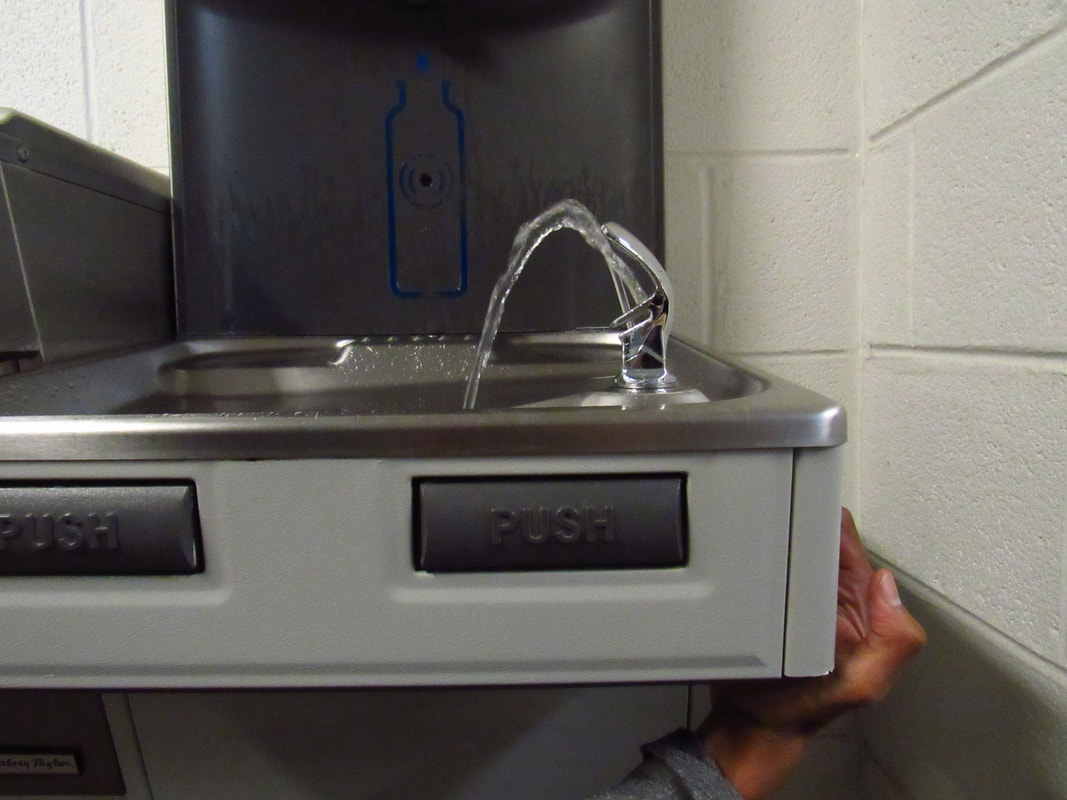
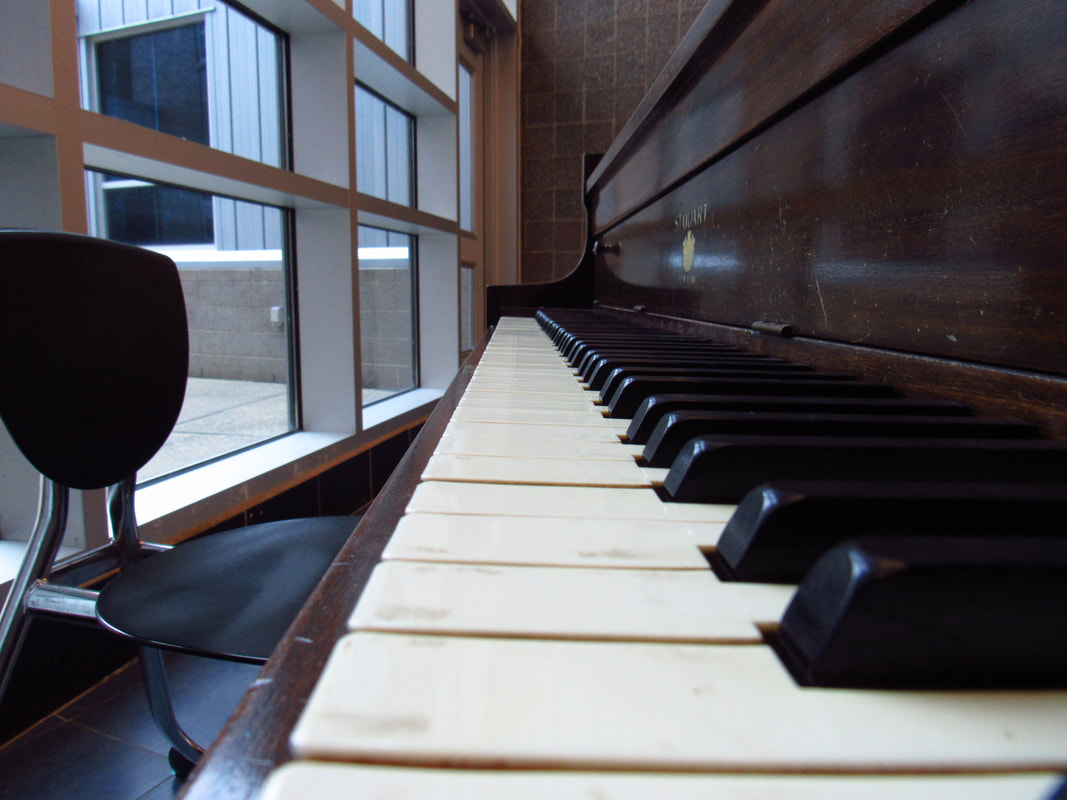
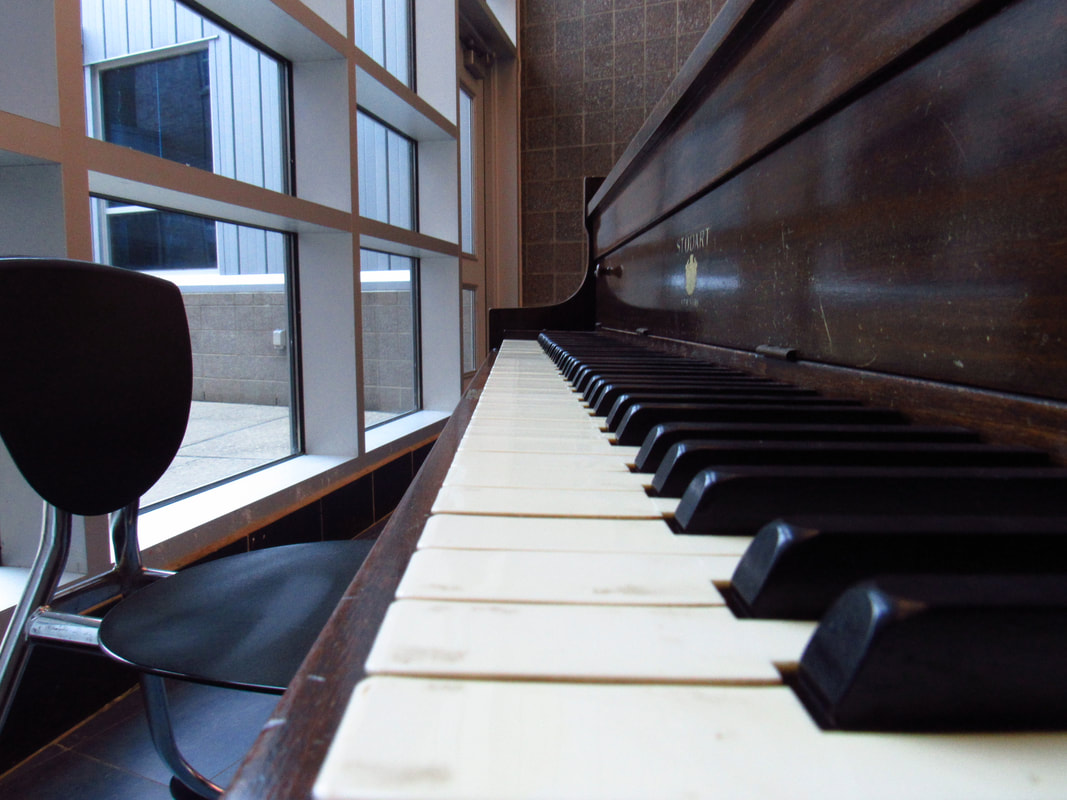
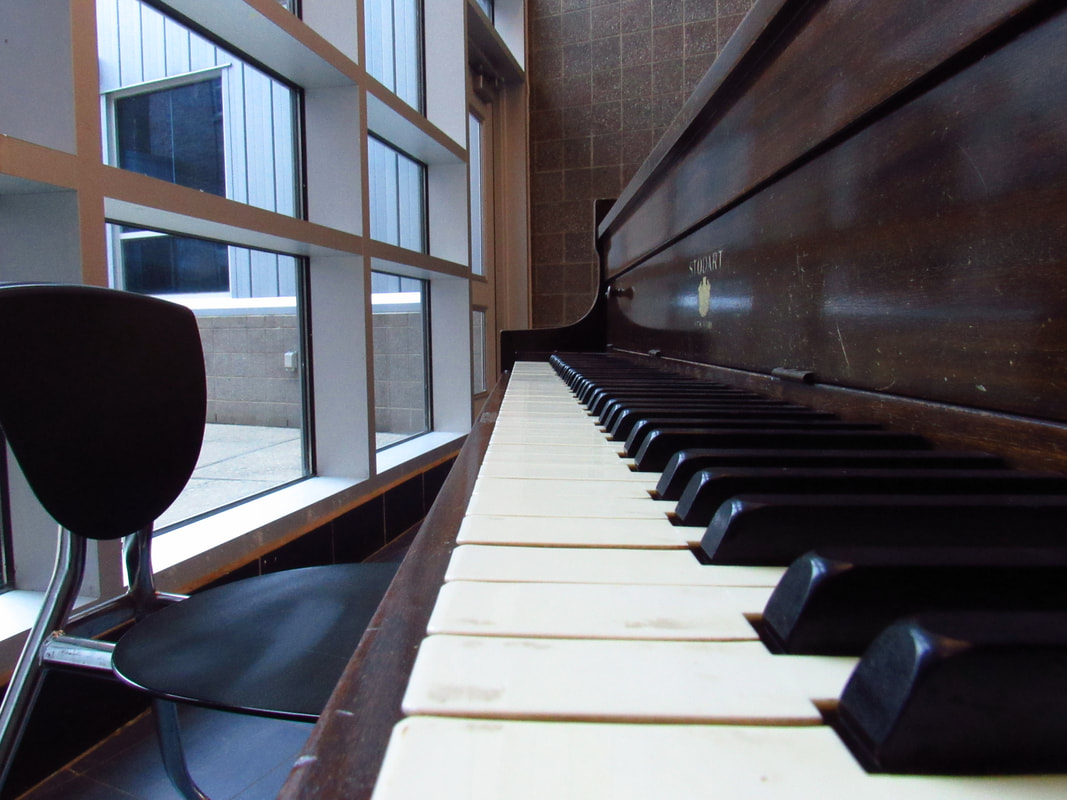
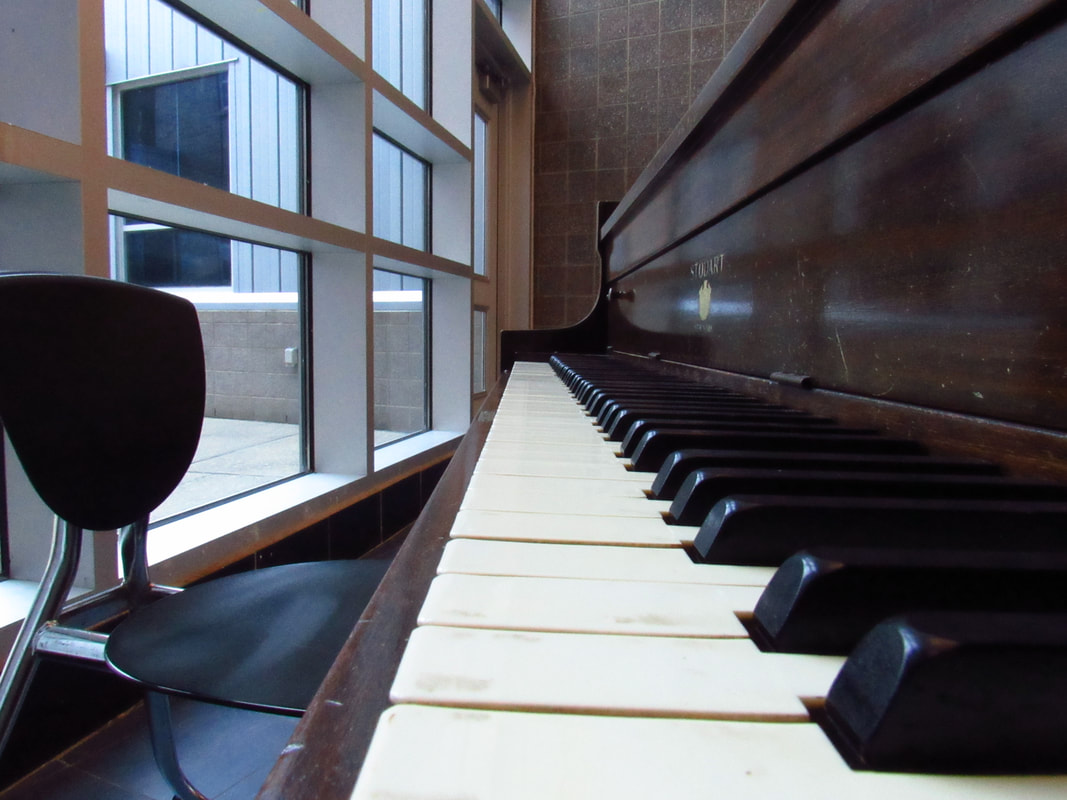
The goal of this assignment was to use the 11 basic composition techniques, in order to show our understanding of simple digital photography. 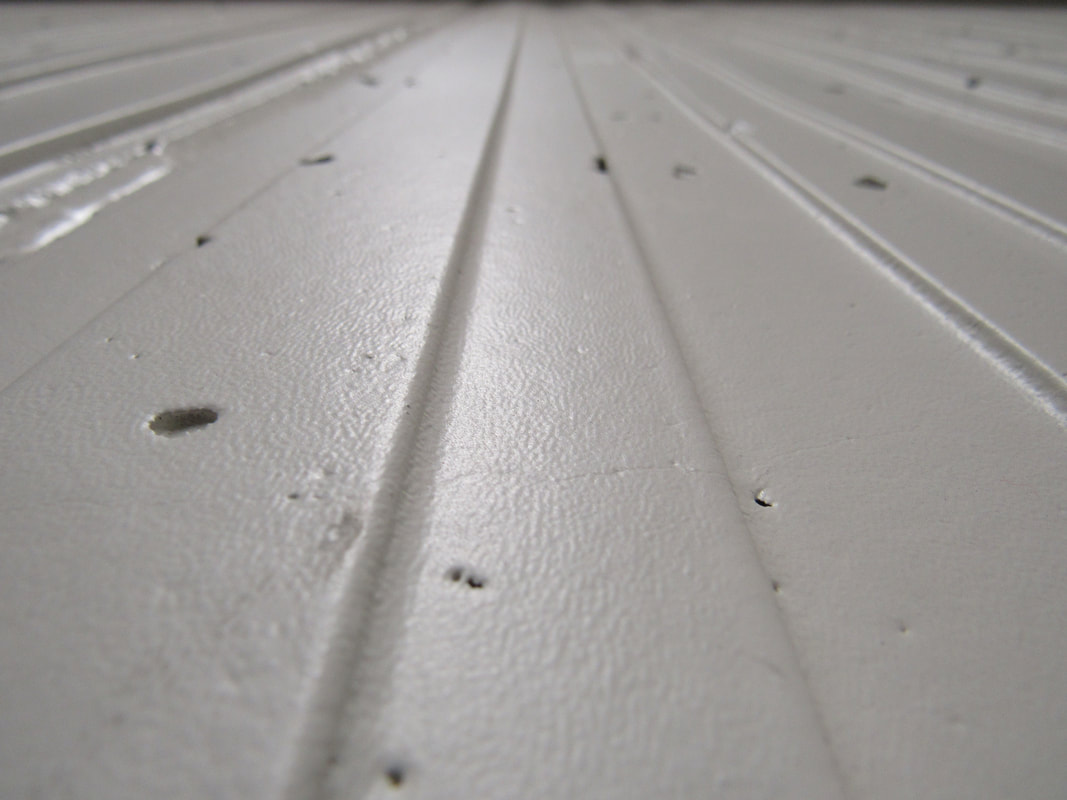 Lines 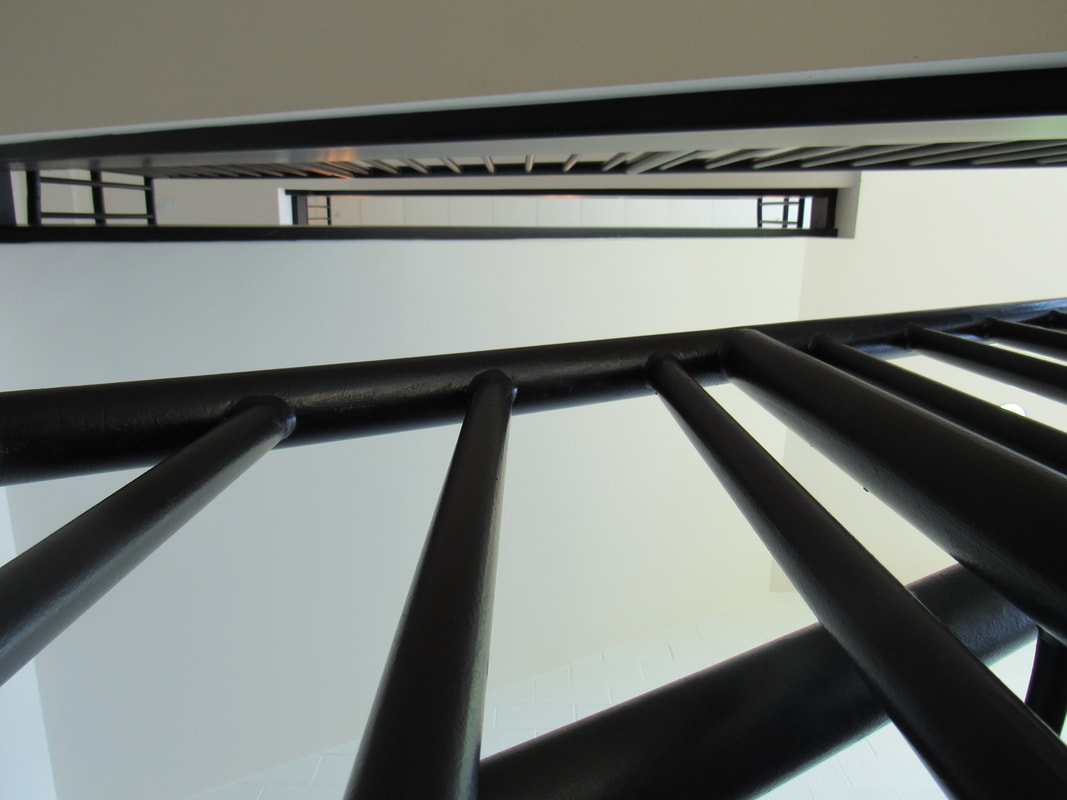 Perspective 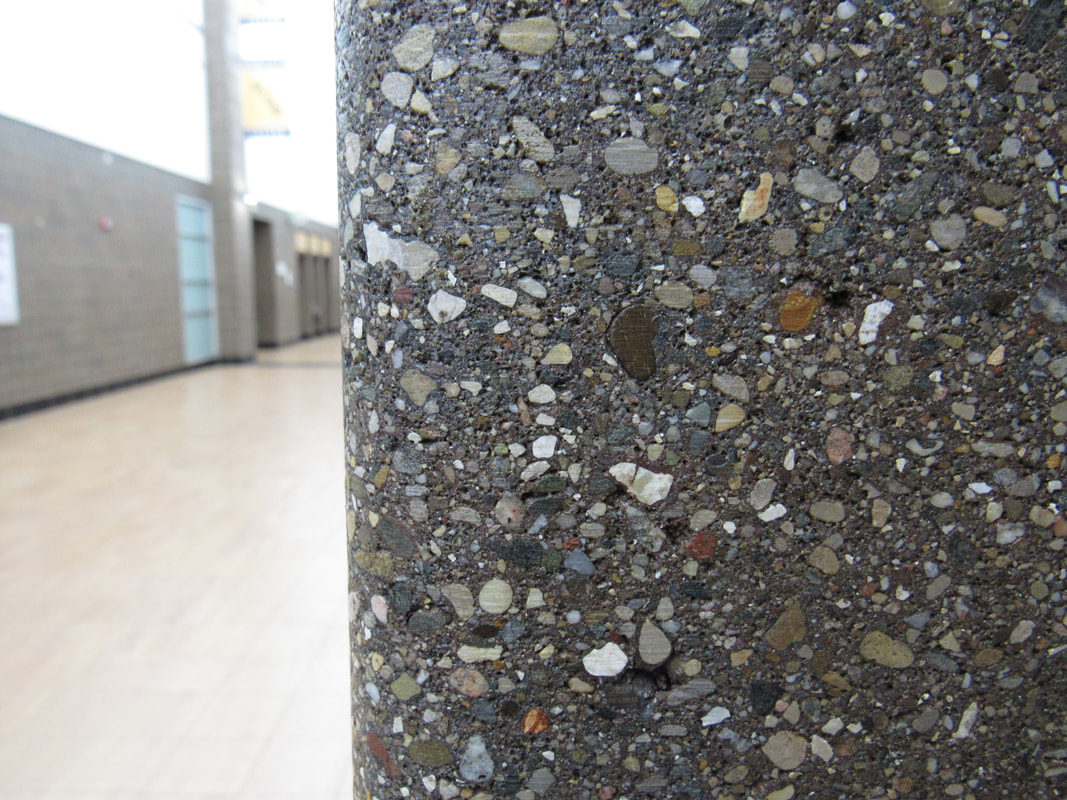 Depth of Field  Balance 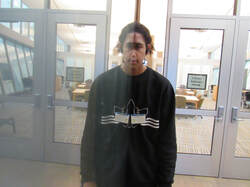 Symmetry 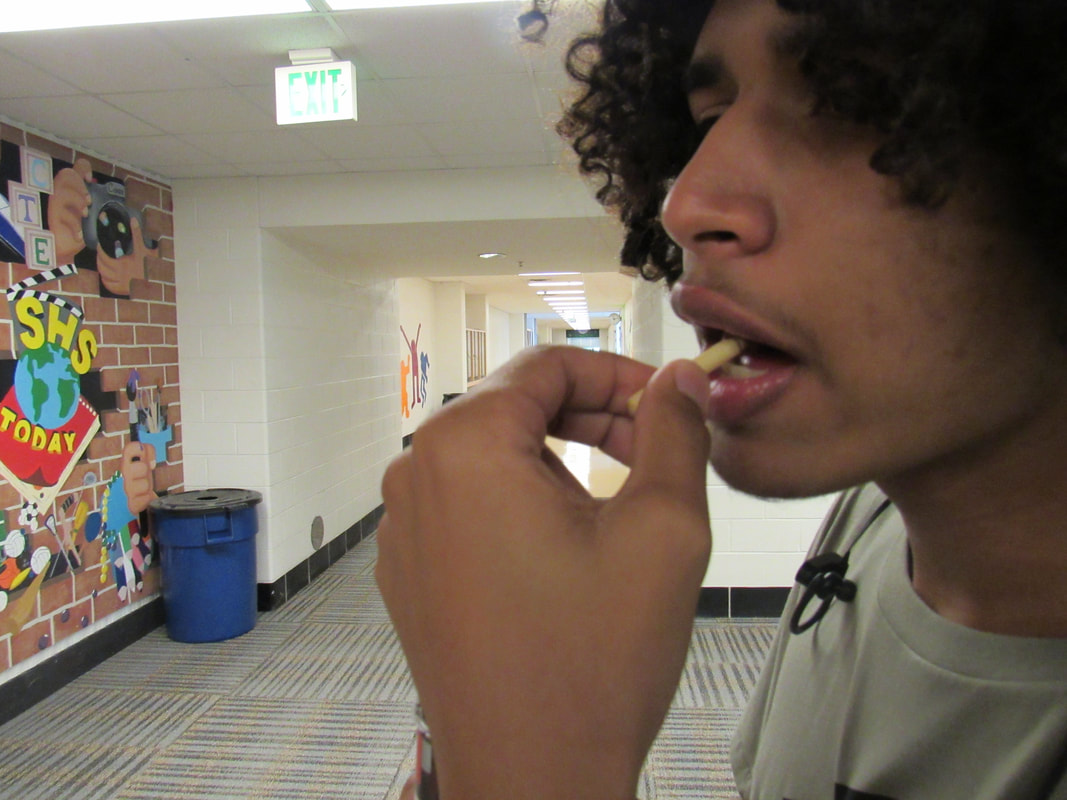 Rule of Thirds 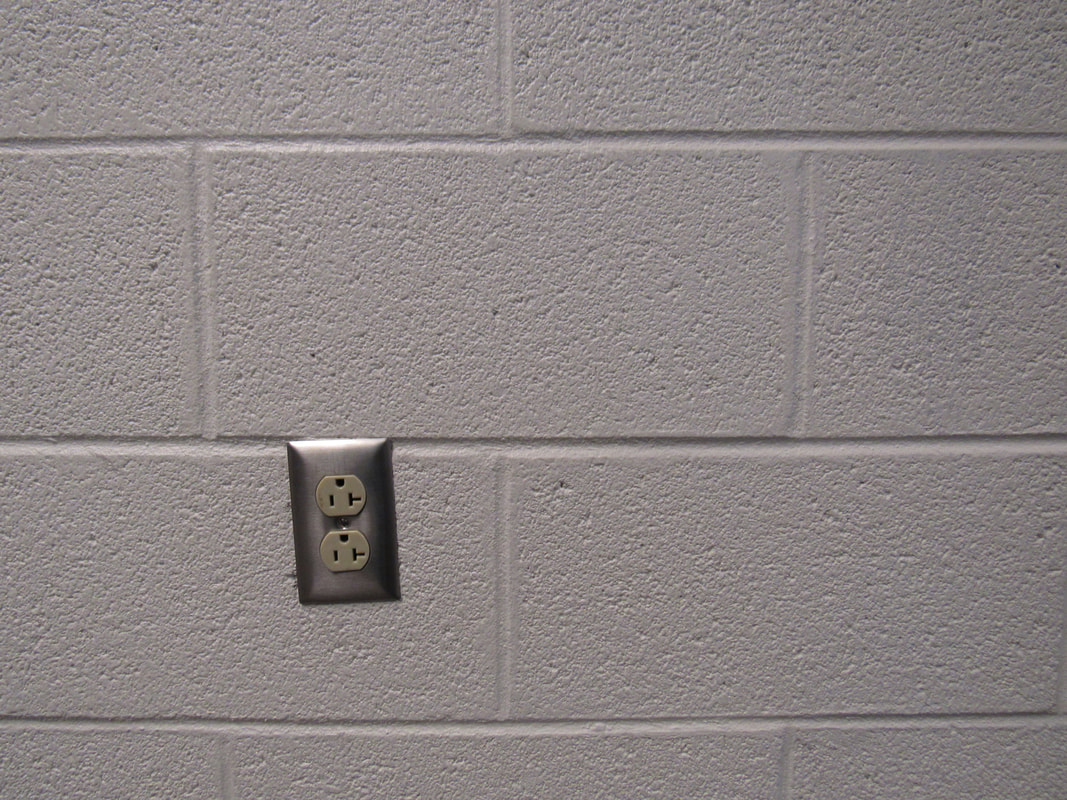 Space 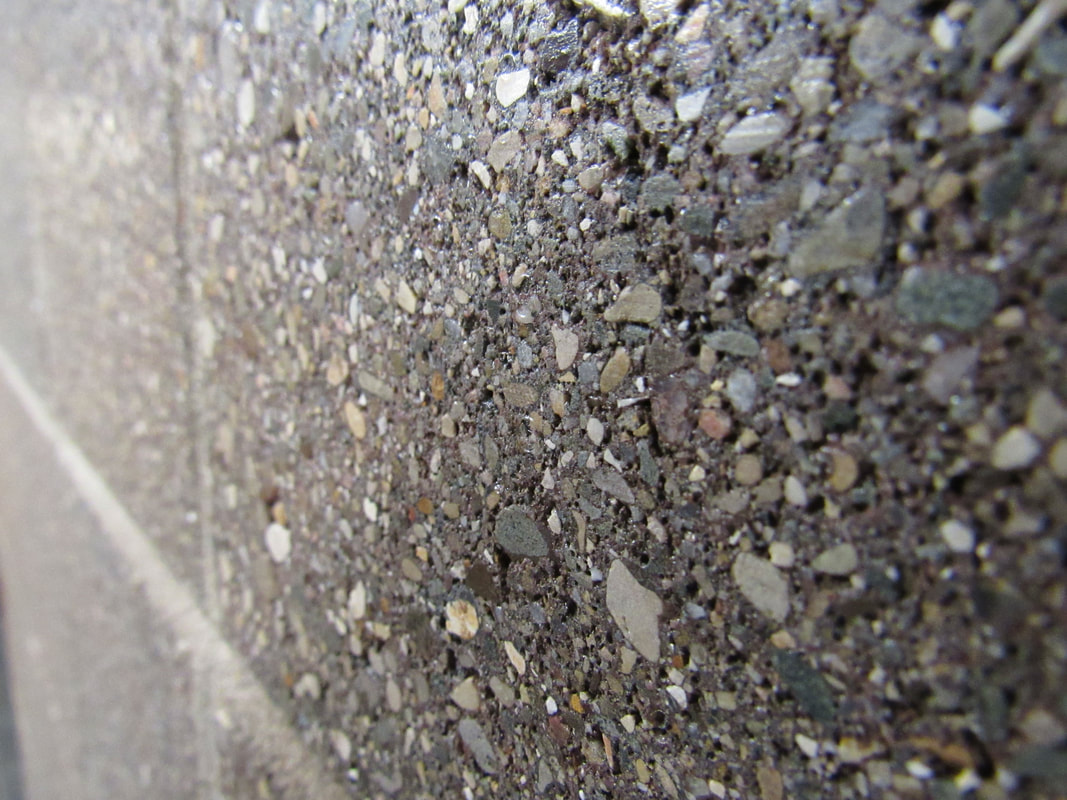 Texture  Pattern 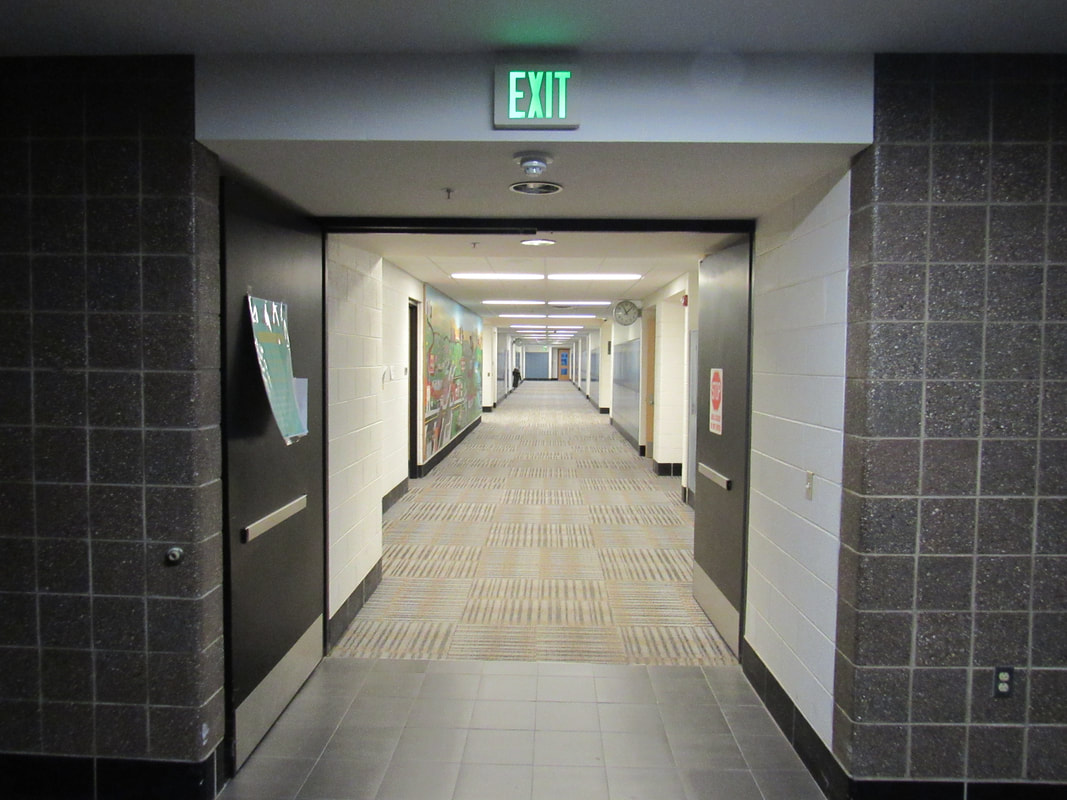 Framing 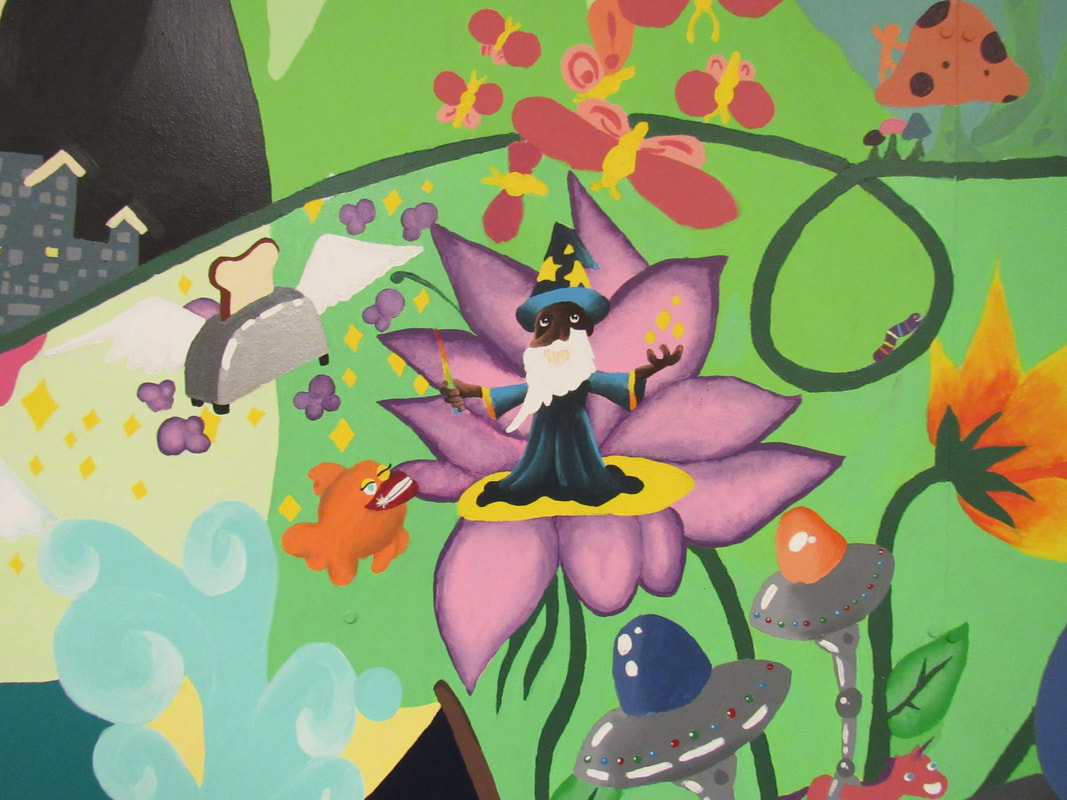 Color In this assignment, I learned how to use certain photography techniques to improve the quality of my photos and guide the viewers attention towards my subjects. Using techniques such as the Rule of Thirds or Perspective, I was able to take seemingly normal settings and turn them into visually appealing photos. Overall, I found the composition assignment to be helpful, albeit tricky as the school isn't a very photogenic place, and hopefully, the skills I learned from this assignment will benefit me over the course of the trimester.
|
AuthorMatthew Harmon ArchivesCategories |


 RSS Feed
